Build A Todo App with React, MongoDB, ExpressJS, and NodeJS Part 1 (Backend)
Hieu Nguyen · March 23, 2020 · 11 min read
webdevnodejsreactjsexpressjsmongodb
0
0 leave some love!
Estimated Completion Time: 15-30 minutes
Background
The classic todo app has been written so many times that most people have lost count. However, in this tutorial, I will try to cover some React and Node JS skills that can be used to create this app.
A little background. I have about 2 years of react experience and have built several react applications. However, don’t be fool, I am far from being an expert in this area. There are still a lot of advanced things that I am still learning everyday.
How did I meet our friends React and Node? Story short, I was a computer science student in college and was bored from all the classes I had to take; I needed something to revive the joy of being a programmer, so I did a little research and came upon the MERN Stack - MongoDB, ExpressJS, ReactJS, and NodeJS. I went through a couple online tutorials and here I am.
Project Setup
Install Node
Mac: Install Homebrew. Homebrew is a package manager for mac. It helps you install programs and packages using the terminal.
/bin/bash -c "$(curl -fsSL https://raw.githubusercontent.com/Homebrew/install/master/install.sh)"Install Node
brew install nodecheck if Node was installed successfully.
node -vLinux:
Open a terminal
sudo apt install nodejscheck if node installed successfully
node -vinstall NPM, a package manager for Node
sudo apt install npmcheck if NPM installed successfully
npm -vWindow: Download the installer
Installing MongoDB
MongoDB is the database that we will use to store our todo’s
Mac:
using Homebrew
brew tap mongodb/brew
brew install mongodb-community@4.2
at the time of writing this, version 4.2 was the latest. The latest version might be different for you. here is a link that might help you find the latest version
Run the mongodb instance using
brew services start mongodb-communityLinux:
Due to the variations in installing MongoDB depending on the distribution, here is the link to the original installation guide
Setting up project structure
create the application folder
mkdir todo-app
cd todo-app
create the backend folder
mkdir todo-backendcreate the front end react app
npx create-react-app todo-frontendnow you should have a folder structure like so
todo-app
    - todo-backend
    - todo-frontend
        - node_modules
        - public
        - src
        - package.json
        - .gitignore
        - README.md
Building backend
navigate to the todo-backend folder
cd todo-backendrun
npm init -yinstall packages that we will need to build the express server
npm install express body-parser mongoose --save- ExpressJS - is the server framework with Node JS under the hood.
- body-parser - allows express to parse the request payload into the
req.bodyobject. More about this later. - mongoose - high level API for interacting with our MongoDB database.
create the index.js which will store our server initialization logic.
touch index.jsIf you have VS Code installed, you can open the project in VS Code using
code .otherwise, just open it in your favorite code editor
copy this code into the index.js file
const express = require("express") // our express server
const app = express() // generate an app object
const bodyParser = require("body-parser") // requiring the body-parser
const PORT = process.env.PORT || 3000 // port that the server is running on => localhost:3000
app.use(bodyParser.json()) // telling the app that we are going to use json to handle incoming payload

app.listen(PORT, () => {
  // listening on port 3000
  console.log(`listening on port ${PORT}`) // print this when the server starts
})
Run the server
node index.jsYou should see the message print out to the terminal.
Nodemon(highly recommend but not required)
This handy tools allows you to edit your server files and see the change propagate in real time without starting the server each time with node index.js
install by running
npm install -g nodemonRun the server again using
nodemon index.jsIf you choose to not use this tool, make sure to restart the server each time you make a change to the todo-backend files
Connecting to MongoDB
create the models folder in the root of the todo-backend folder
mkdir modelsConnecting to the database is really simple. Create an index.js file in the models directory
touch models/index.jscopy the follow code into the index.js file
const mongoose = require("mongoose")
mongoose.connect("mongodb://localhost/todo-app", {
  // connecting to the mongodb database name: "todo-app" locally
  keepAlive: true, // keeping the connection alive
  useNewUrlParser: true,
  useUnifiedTopology: true,
})
mongoose.set("debug", true) // enabling debugging information to be printed to the console for debugging purposes
mongoose.Promise = Promise // setting mongoose's Promise to use Node's Promise
Create the Todo Model
A model is just a blue print for an object that we want to store in our database. It describes the structure and fields that pertains to a specific kinds of data.
Create the todo.js file that will store our model
touch models/todo.jscopy the code below into the todo.js file
const mongoose = require("mongoose") // requiring the mongoose package

const todoSchema = new mongoose.Schema({
  // creating a schema for todo
  task: {
    // field1: task
    type: String, // task is a string
    unique: true, // it has to be unique
    required: true, // it is required
  },
  completed: {
    // field2: completed
    type: Boolean, // it is a boolean
    default: false, // the default is false
  },
})

const todoModel = mongoose.model("Todo", todoSchema) // creating the model from the schema

module.exports = todoModel // exporting the model
Now that we have our model, let’s use it. In the index.js file of the models dictory , add the following line of code to the bottom.
module.exports.Todo = require("./todo") // requiring the todo model that we just created in mongodbNext, add the following statement to the top of the index.js file where we stored server initialization logic. Note: we did not do require("./models/index.js") because in Node Js whenever we require a directory, it will search for the file named index first.
const db = require("./models/")Run the server to make sure that nothing is broken. Chances are, you ran into this error: MongoNetworkError: failed to connect to server [localhost:27017] in the terminal which is because we have not started the mongodb server locally. Run the following command to start the mongodb service on mac.
brew services start mongodb-communityRestart the node server and we should see that everything is fine
listening on port 3000
Mongoose: todos.ensureIndex({ task: 1 }, { unique: true, background: true })
(node:10201) DeprecationWarning: collection.ensureIndex is deprecated. Use createIndexes instead.
Establishing API Endpoints
API endpoints are just URL’s that can be used to make request to a service or a system.
How should we structure our API Endpoints?
- establish what kinds of functionality we want to expose. In our case, we need to be able to add a new todo, delete a todo, update a todo, and retrieve all the todos
- formulate the routes. For instance an ice-cream distribution API can expose
icecream.com/flavorsmaking aGETrequest to this API endpoint will retrieve all the flavors.
Our todo API will have the following endpoints
GET  /todos //getting all todos
POST  /todos //adding a new todo
PUT  /todos/:id //updating a todo with the matching id
DELETE  /todos/:id //deleting a todo with matching id
Lets Create Some Routes
Routes in Node and Express are just API endpoints that we are exposing.
Update the index.js file at the root containing the server initialization logic to look like the section below. This might be quite a bit of code, and you will probably feel overwhelmed. Do not be discouraged. I will clarify each part. Those of you who are familiar with ExpressJS will find this section familiar, so feel free to skim over the section below.
const express = require("express")
const app = express()
const bodyParser = require("body-parser")
const PORT = process.env.PORT || 3000
const db = require("./models/")

app.use(bodyParser.json())

function success(res, payload) {
  return res.status(200).json(payload)
}

app.get("/todos", async (req, res, next) => {
  try {
    const todos = await db.Todo.find({})
    return success(res, todos)
  } catch (err) {
    next({ status: 400, message: "failed to get todos" })
  }
})

app.post("/todos", async (req, res, next) => {
  try {
    const todo = await db.Todo.create(req.body)
    return success(res, todo)
  } catch (err) {
    next({ status: 400, message: "failed to create todo" })
  }
})

app.put("/todos/:id", async (req, res, next) => {
  try {
    const todo = await db.Todo.findByIdAndUpdate(req.params.id, req.body, {
      new: true,
    })
    return success(res, todo)
  } catch (err) {
    next({ status: 400, message: "failed to update todo" })
  }
})
app.delete("/todos/:id", async (req, res, next) => {
  try {
    await db.Todo.findByIdAndRemove(req.params.id)
    return success(res, "todo deleted!")
  } catch (err) {
    next({ status: 400, message: "failed to delete todo" })
  }
})

app.use((err, req, res, next) => {
  return res.status(err.status || 400).json({
    status: err.status || 400,
    message: err.message || "there was an error processing request",
  })
})

app.listen(PORT, () => {
  console.log(`listening on port ${PORT}`)
})
The success function accepts the res object and the payload and send a 200 status code with the payload in the response
function success(res, payload) {
  return res.status(200).json(payload)
}
GET /todos/ - getting all the todos. app.get() tells express that the route "/todos" is a get route. The second paramater async (req,res,next)=>{ //some code } is the function that gets called when the server receives this request.
Inside the function, we are getting the all todos using await db.Todo.find({}). If it was successful we return success(res, todos) with all the todos. Otherwise, we received an error and send a 400 status code with a message.
app.get("/todos", async (req, res, next) => {
  try {
    const todos = await db.Todo.find({})
    return success(res, todos)
  } catch (err) {
    next({ status: 400, message: "failed to get todos" })
  }
})
POST /todos/ - creating a new todo
we called await db.Todo.create(req.body) to create a new todo. Here req.body contains the request payload that will contain the task to be created.
app.post("/todos", async (req, res, next) => {
  try {
    const todo = await db.Todo.create(req.body)
    return success(res, todo)
  } catch (err) {
    next({ status: 400, message: "failed to create todos" })
  }
})
PUT /todos/:id - updating a todo with the given id
we update the todo by calling await db.Todo.findByIdAndUpdate(req.params.id, req.body, {new:true}). here req.params contains all the route parameters that we specified; Here we have one: "/todos/:id" called id. req.body contains the new information that we want to update the task with. The last parameter {new:true} tells mongoose that we want the updated task to be returned.
app.put("/todos/:id", async (req, res, next) => {
  try {
    const todo = await db.Todo.findByIdAndUpdate(req.params.id, req.body, {
      new: true,
    })
    return success(res, todo)
  } catch (err) {
    next({ status: 400, message: "failed to update todo" })
  }
})
DELETE /todos/:id - deleting a todo with the given id
we call await db.Todo.findByIdAndRemove(req.params.id)
app.delete("/todos/:id", async (req, res, next) => {
  try {
    await db.Todo.findByIdAndRemove(req.params.id)
    return success(res, "todo deleted!")
  } catch (err) {
    next({ status: 400, message: "failed to delete todo" })
  }
})
This is our error handler. Whenever we call next({status: 400, message: "failed to do something"}), we are passing the error object to the error handler.
app.use((err, req, res, next) => {
  return res.status(err.status || 400).json({
    status: err.status || 400,
    message: err.message || "there was an error processing request",
  })
})
Testing Our API
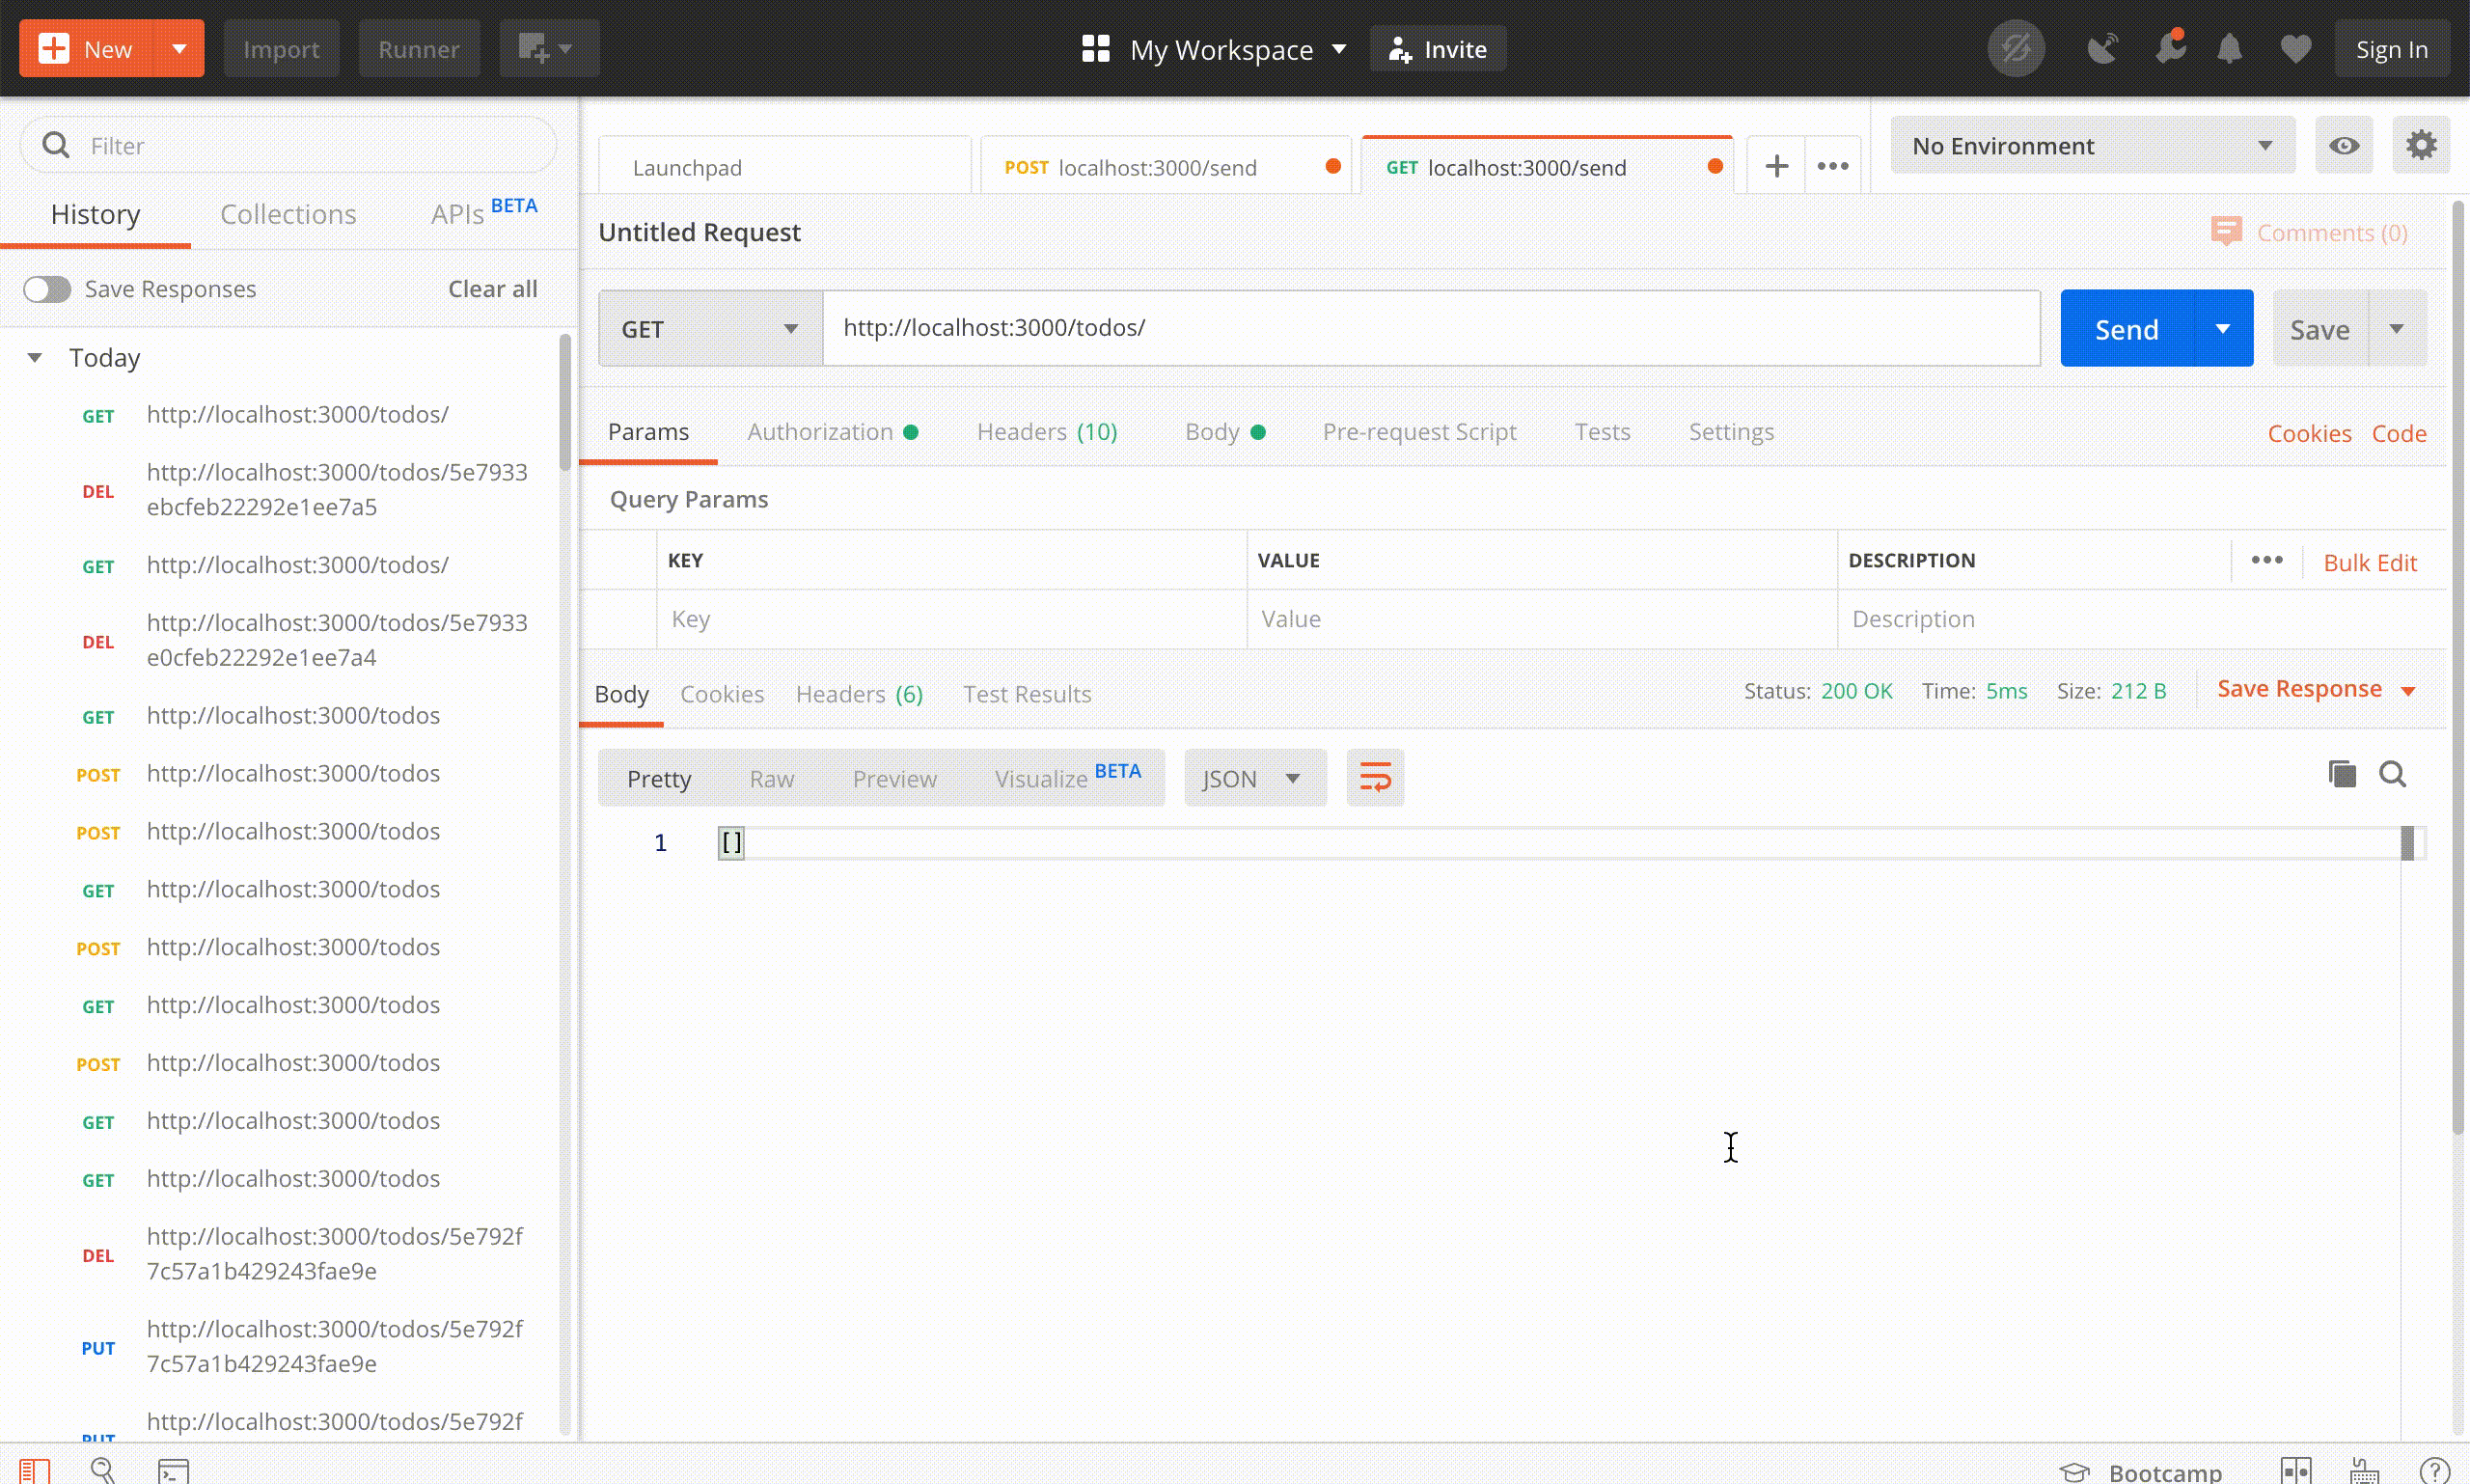
Now that our API is built, how do we test it? There is a useful tool called Postman that allows us to make http requests through a user interface. Download it
Here is a quick video of me testing it.
What’s Next
The next step is to create the react front end and connect it with the API backend. Here is the next segment of this tutorial Build A Todo App with React and Node Part 2 (Frontend)
This tutorial’s source code can be found on github